My son is a huge Cars fan so I knew I had to DIY a Lightning McQueen Halloween Costume this year. Of course I couldn’t help but make TWO. I decided to make one that he could wear and one that he could ride in.
Here is what I used:
- Cardboard
- Masking Tape
- Acrylic Paint in the colors red, orange, yellow, white, black, light blue and dark blue.
- Red Spray Paint
- Mod Podge
- Styrofoam Circles
- Velcro
- Paint Brushes
- Foam Brushes
- Checkered Ribbon
- Checkered Flags
- Lightning Patches
- Red Hat
- Red Sweatshirt
- Red Joggers
- Checkered Vans
- Lightning McQueen Logo Printables
Wearable Lightning McQueen
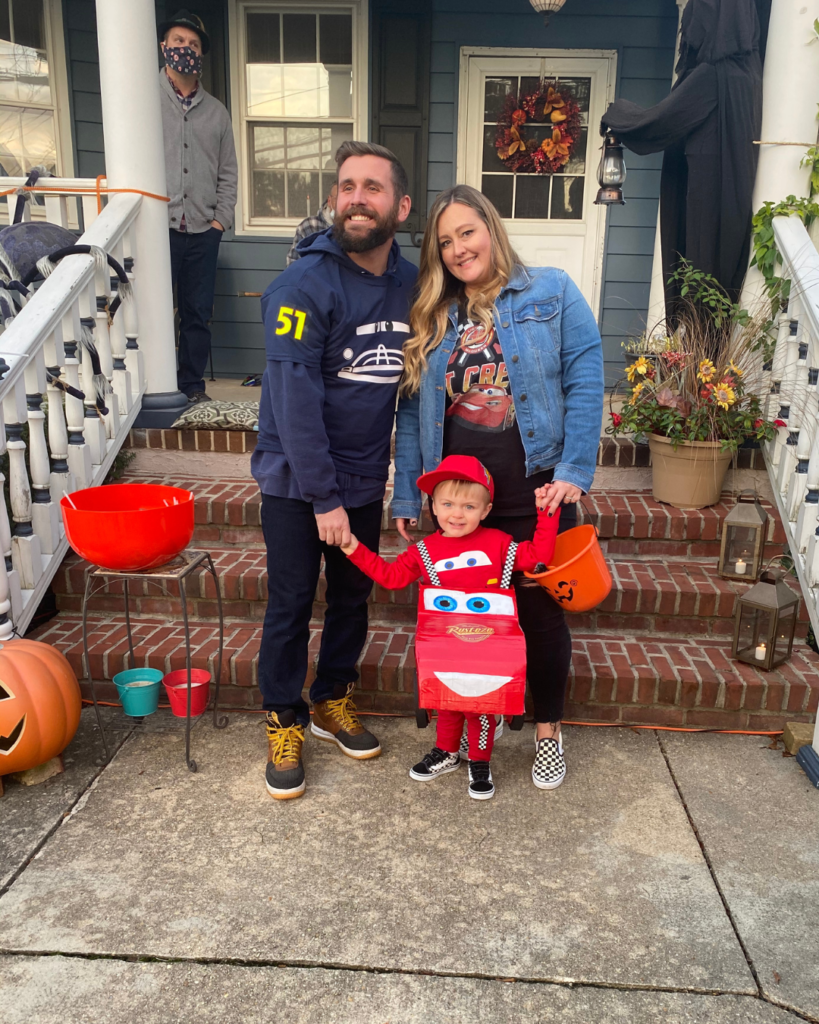
For the wearable Lighting McQueen I used cardboard and cut out two sides, a front piece, windshield and a back bumper. I used masking tape to form the body and bind it together. After that I spray painted the pieces and hand painted the eyes and mouth details. If you don’t wish to paint them you can download files from Etsy.
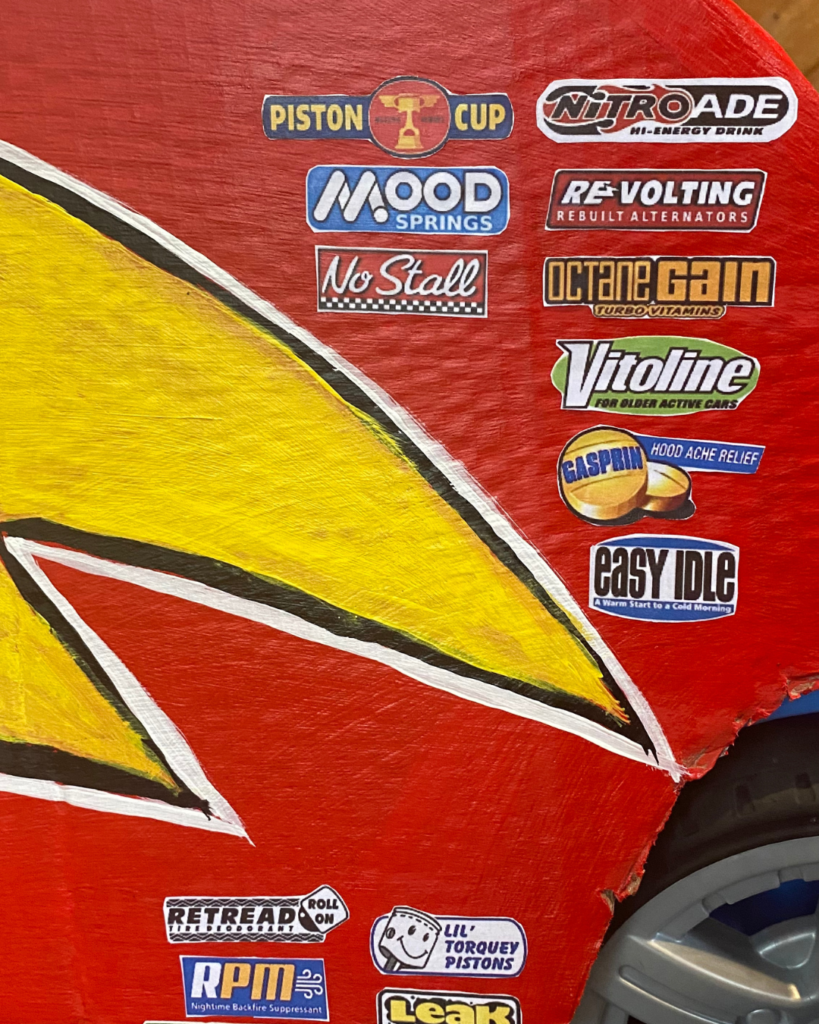
After the paint is dry, you’ll want to Mod Podge the logos and additional details onto the cardboard. I followed this toy car for the details. I then attached the checkered ribbon for the shoulder straps with velcro. Lastly, I painted the round styrofoam circles black for the wheels and then attached them with velcro.
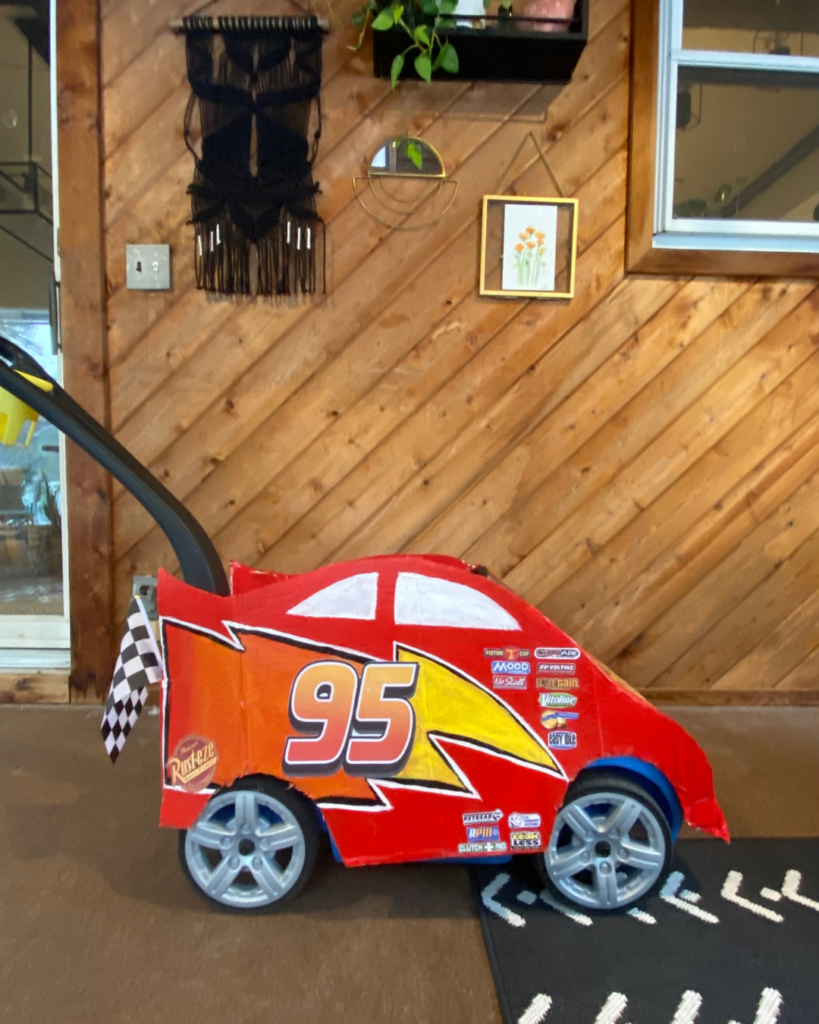
Riding Lightning McQueen
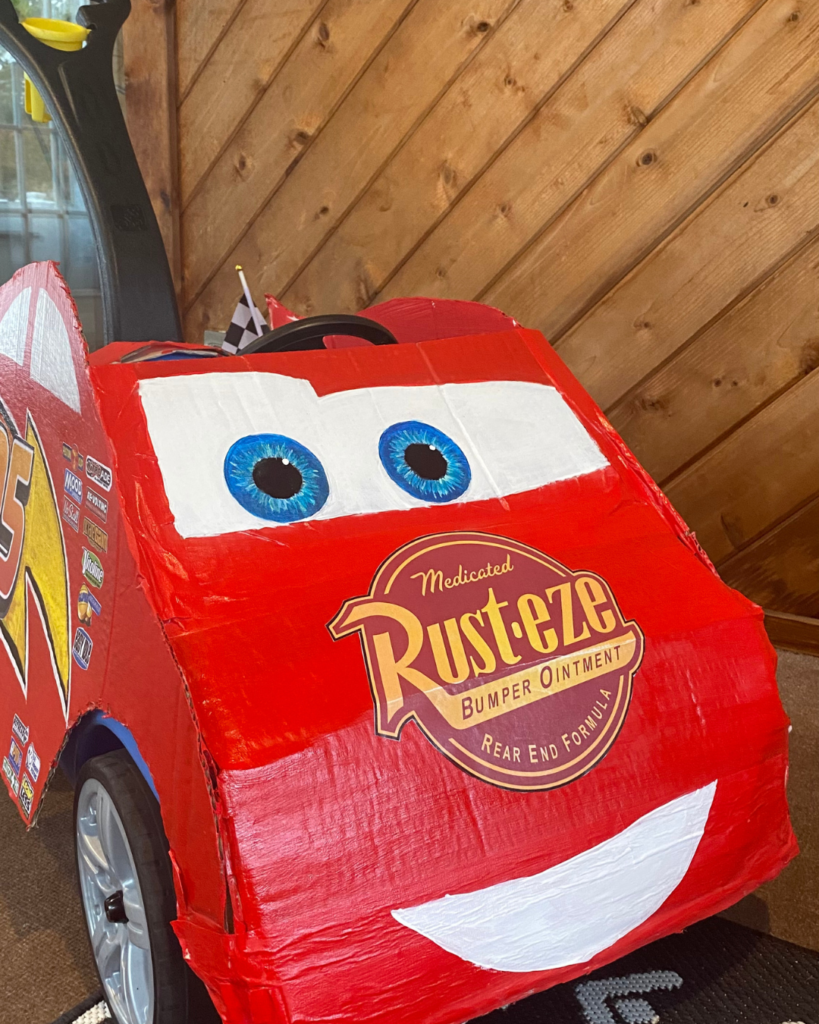
For the riding Lightning McQueen I utilized my son’s Step 2 Riding Push Car for the base. I pretty much followed the same steps as the wearable Lightning McQueen but I did not add straps or the wheels. I did add the checkered flags on the back for added affect.
Lightning McQueen Outfit
I added checkered ribbon to side of the red joggers. I added lightning bolt patches to the sides of the red hat. And a friend used a Cricut to make the Lightning McQueen sweatshirt. He wore checkered Vans.
*All links are affiliate links and I make a small commission with no additional charge to you.*

